


Accept Quickpay Payments on Your Tutor LMS Website
Connect Quickpay to your Tutor LMS store in 5 minutes. PayLexer handles the setup, so you don't need custom development.
Set up in 5 Minutes
Just a few simple steps to get Quickpay connected.
5-Star Support
Get help from real people whenever you need assistance.
Built for Non-Developers
No coding or complicated setup required.
How This Works
Integrate Quickpay with Tutor LMS in 5 Minutes
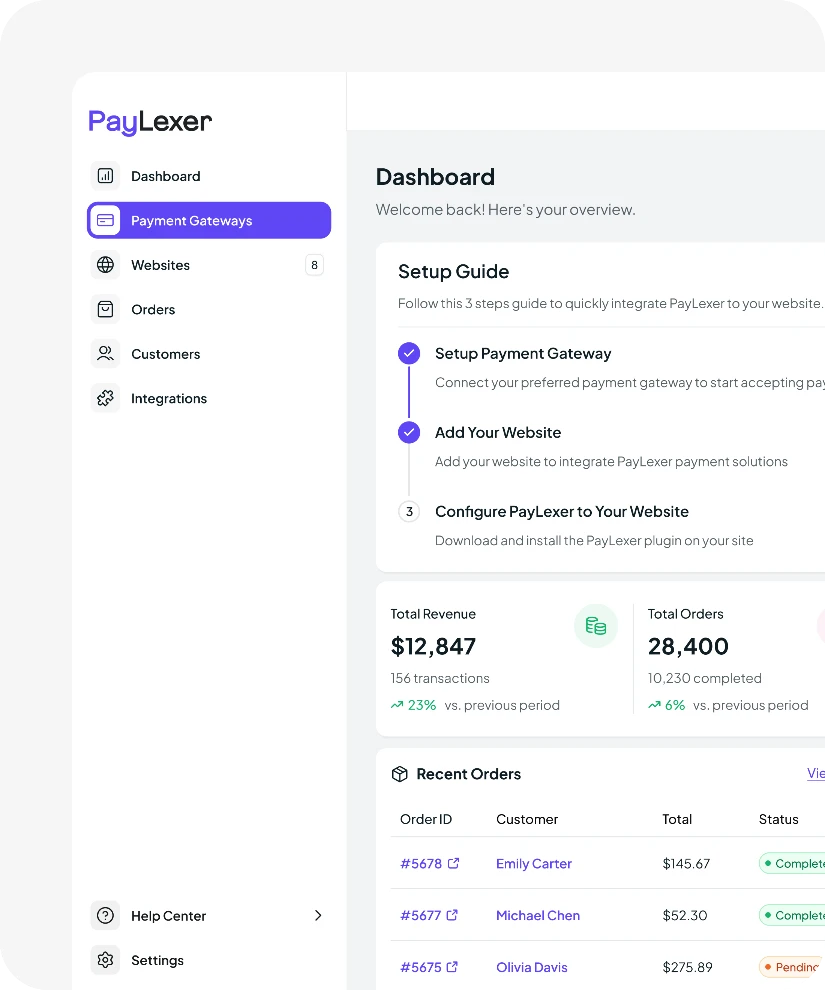
Here's what the setup actually looks like with PayLexer.
1
Get your credentials from Quickpay
Log in to your Quickpay account and go to your developer or API settings. Copy the credentials you find there; you will need them in the next step.
2
Connect Quickpay inside PayLexer
Paste your Quickpay credentials into PayLexer and verify the connection. Follow the remaining setup steps. PayLexer walks you through everything.
3
Install and activate PayLexer plugin
Install and activate the PayLexer plugin on your WordPress website. Enter your Client ID and Site Key to connect your website.
4
Enable Quickpay
Test the connection in PayLexer. When it shows Connected, go to your Tutor LMS payment settings and enable Quickpay. You are ready to start accepting payments.
Other Payment Options
Prefer a Different Gateway? We Support More for Tutor LMS
PayLexer supports 131+ payment gateways for Tutor LMS. Pick the one that works best for your store and your customers.


No matching payment gateways found.
Try another keyword or view all supported gateways below.
Plugin Compatibility
Need Quickpay on More Than One Website? Connect It to Every Platform You Sell On.
Your Quickpay account works across every platform PayLexer supports. One account, connected everywhere you sell.


Trusted Solution
About Tutor LMS
Tutor LMS is a WordPress learning management system plugin from Themeum for creating and selling online courses. It includes a course builder, quizzes, native eCommerce, subscriptions, and multi-instructor support for running full course marketplaces. It’s designed for individual teachers, training businesses, and schools running online learning sites.
0K+
Active Installs (WordPress.org)
4.4 / 5
WordPress.org Rating
0+
Years in Market
Trusted Payment
About Quickpay
Quickpay is a payment gateway focused on the Nordic markets, supporting businesses across Denmark, Norway, and Sweden. It accepts cards alongside MobilePay, Apple Pay, Google Pay, and Vipps. It also extends to a broader set of European countries, processing payments across six currencies including DKK, EUR, SEK, and NOK.
0
Founded
0+
Webshops
4M+
Monthly Transactions
Ready to accept Quickpay payments on Tutor LMS?
Create your free PayLexer account and connect Quickpay to your Tutor LMS website today.
Set Up Now