


Accept Payments with NICEPAY on Your WooCommerce Store
Ready in 5 Minutes
Help Is a Message Away
Zero Coding Required
Get NICEPAY Live on Your WooCommerce Store
Get your Merchant ID and Key
Connect NICEPAY in PayLexer
Get the PayLexer plugin
Enable NICEPAY
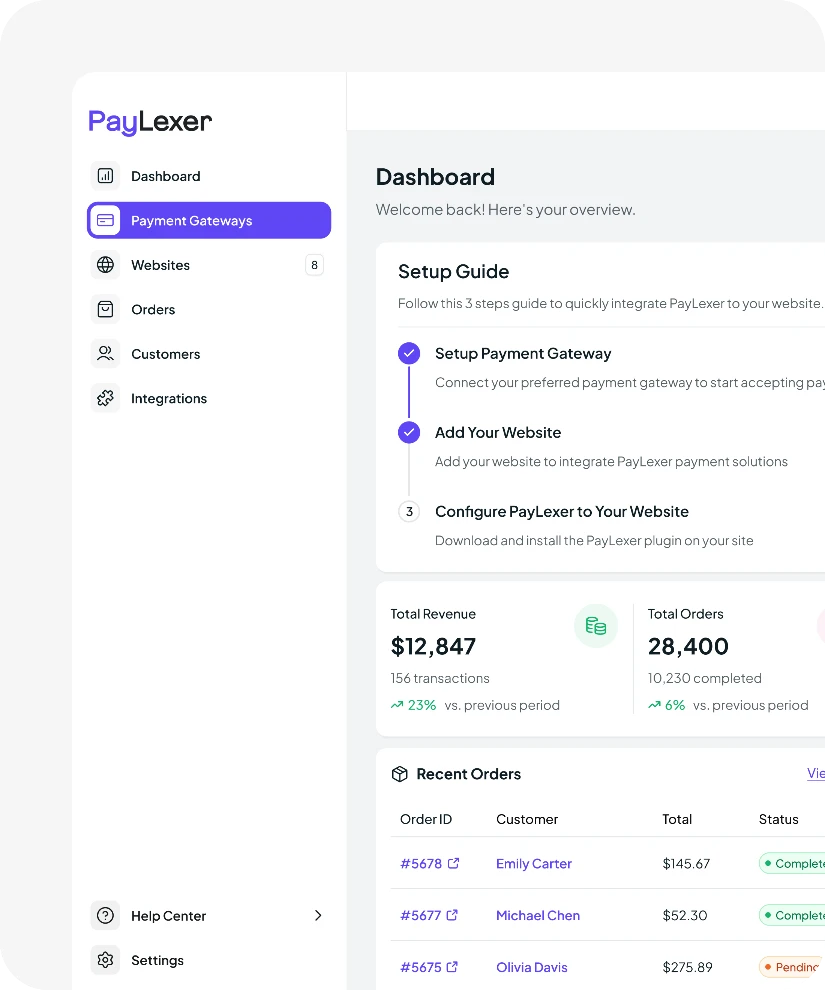
Looking for a Different Gateway? PayLexer Has More for WooCommerce


Got More Than One Store? One NICEPAY Account. Every Platform. Through PayLexer.


About WooCommerce
WooCommerce is the world’s most popular eCommerce plugin for WordPress. It gives businesses a flexible, open-source foundation to sell anything online, physical products, digital downloads, subscriptions, and more. With a massive ecosystem of themes, extensions, and integrations, WooCommerce adapts to any kind of store, at any scale.
About NICEPAY
NICEPAY is a licensed payment gateway operating in Indonesia, backed by South Korea’s NICE Group. It supports credit cards, virtual accounts, direct debit, e-wallets, convenience store payments, and installment options.
Everything You Need to Know
I'd like to keep my checkout exactly as it is. Can I still add NICEPAY?
Yes. Your WooCommerce checkout continues to work the way your customers expect. PayLexer simply makes NICEPAY available as another payment method during checkout.
What tells WooCommerce that an order has been paid?
After NICEPAY confirms the transaction, PayLexer passes that confirmation to WooCommerce so your order can continue through its normal processing workflow.
Where do I start if I've never connected a payment gateway before?
PayLexer guides you through each step of the setup, making it easy to connect to NICEPAY without building your own payment integration.
Can I connect another payment gateway in the future without starting over?
Absolutely. PayLexer supports 88+ payment gateways, allowing you to expand your payment options whenever you need to without rebuilding your WooCommerce store.
Does PayLexer work with NICEPAY Korea as well?
No. PayLexer currently supports NICEPAY Indonesia only. NICEPAY Korea operates as a separate payment service with its own merchant platform and configuration.
Does PayLexer process my payments?
No. NICEPAY securely processes every customer payment. PayLexer’s role is simply to connect your WooCommerce store with the payment gateway.
What if I need assistance after my store goes live?
If you ever need help with your integration, the PayLexer support team is available to answer questions and help you get everything running smoothly.