


Accept Authorize.net Payments on Your WP Travel Engine Website
Set Up in 5 Minutes
5-Star Support
Built for Non-Developers
How to Connect Authorize.net to WP Travel Engine
Get your credentials from Authorize.net
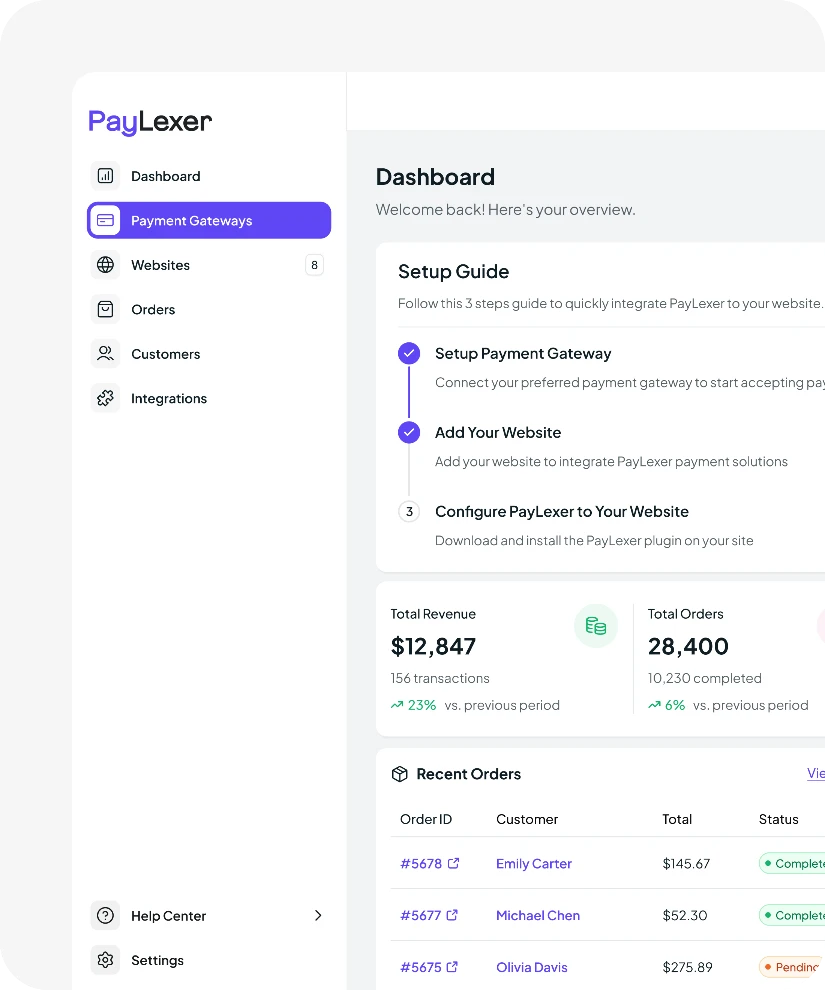
Add Authorize.net to PayLexer
Install the PayLexer plugin on your site
Turn Authorize.net on in WP Travel Engine
Need More Payment Options? PayLexer Supports More for WP Travel Engine


One Authorize.net Account. Use It Across Every Website You Manage.


About WP Travel Engine
WP Travel Engine is a leading WordPress plugin for tour operators and travel agencies. It helps businesses create tour websites, manage bookings, and sell travel experiences online. Built for the travel industry, it offers everything needed to run a successful tour business.
About Authorize.net
Authorize.net is a trusted payment gateway that helps businesses accept online payments securely. It is available primarily in the US, Canada, the UK, Europe, and Australia through supported merchant accounts. It supports credit and debit cards, digital wallets, eChecks, and recurring payments.
Everything You Need to Know
Do I need a separate Authorize.net account to use PayLexer?
Yes. You need an active Authorize.net merchant account to get your API credentials. If you don’t have one yet, you can sign up directly on the Authorize.net website.
Will PayLexer work with my current WP Travel Engine setup?
It will. PayLexer works alongside your existing WP Travel Engine setup without changing your booking forms or tour pages.
Can I test payments before my booking site goes live?
Absolutely. Authorize.net provides a Sandbox environment so you can test bookings before going live. Add your Sandbox credentials in PayLexer and run test bookings before switching to live mode.
Does PayLexer charge extra on top of Authorize.net fees?
Your transaction fees are between you and Authorize.net. PayLexer doesn’t add anything on top of that.
What happens if something goes wrong during setup?
PayLexer has a support team you can reach directly. There’s also full documentation covering every step of the setup, so you’re never left guessing.